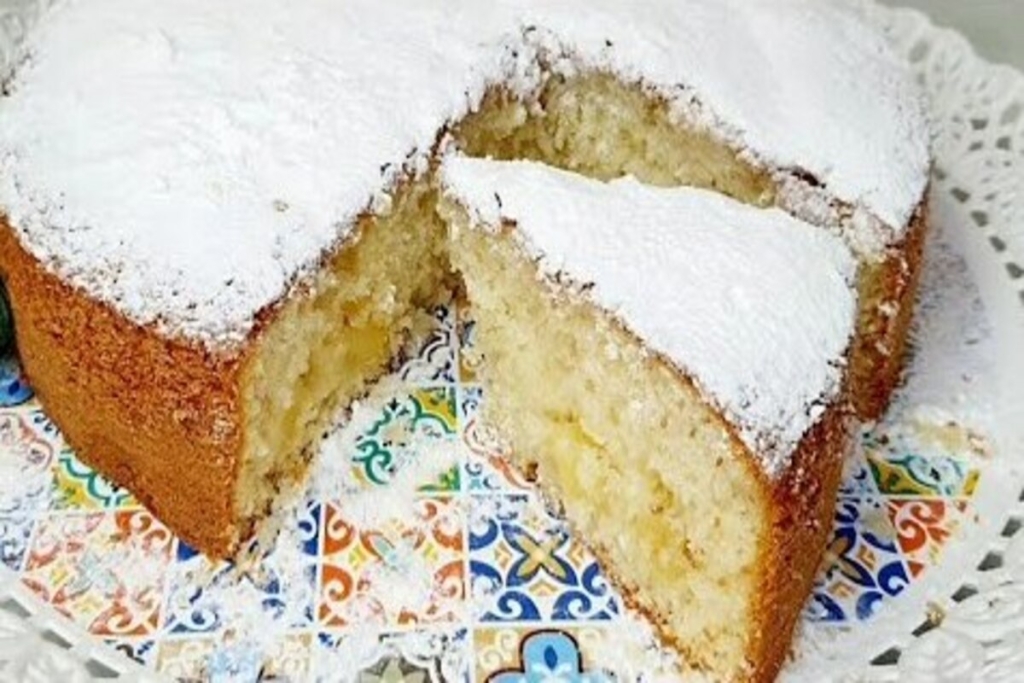
Who doesn't love one bolo de maçã fofinho, não é mesmo? Hoje vou te ensinar uma receita prática e deliciosa que você faz rapidinho no liquidificador. Esse bolo é perfeito para quem gosta de praticidade na cozinha sem abrir mão do sabor. Ideal para servir no café da manhã, no lanche da tarde ou até mesmo como sobremesa. Vamos lá?
The best thing about this recipe is that you can use a blender to speed up the process, and the result is a super fluffy, moist cake full of little pieces of apple that make everything even tastier. With simple ingredients and quick preparation, you will be surprised by the result. So, grab your apron and come with me as I show you how to make this wonderful cake!
How to Make Apple Cake in a Blender

Ingredients:
- 1 apple (washed, seeded and diced, with skin)
- 3 whole eggs
- 3/4 cup soybean oil
- 2 cups of refined sugar
- 2 apples (washed, seeded and diced, peeled)
- 2 tablespoons lemon juice
- 2 tablespoons of sugar
- 2 cups of wheat flour (sifted)
- 1 pinch of ground cinnamon (optional)
- 1 tablespoon baking powder
- Butter and wheat flour to grease the pan
Preparation method:
- Prepare the Dough Base: In a blender, place the apple cut with the skin, the eggs, the oil and the refined sugar. Blend well for about 3 to 4 minutes until everything is crushed and forms a homogeneous mixture.
- Prepare the Apples for the Filling: In a bowl, mix the peeled apples with the lemon juice and 2 tablespoons of sugar. This will prevent the apples from browning and give them a delicious flavor. Set aside.
- Mix the Flour and Dough Base: In another bowl, sift the wheat flour to avoid lumps. Add the mixture from the blender and stir carefully to avoid lumps. If you find it difficult to mix, use a hand mixer to make it easier.
- Incorporate the Final Ingredients: Add the reserved apple mixture, ground cinnamon (if desired) and baking powder. Mix well until all ingredients are incorporated.
- Prepare the Pan and Bake the Cake: Grease a baking tin with butter and flour. Pour the batter into the tin and bake in a preheated oven at 180 degrees for approximately 40-45 minutes. Keep an eye on the oven to make sure the cake doesn't burn. To check if it's ready, stick a toothpick in the center of the cake; if it comes out clean, it's ready.
- Finish the Cake: After baking, remove the cake from the oven and let it cool slightly before removing it from the pan. Sprinkle powdered sugar on top, if desired, for a finishing touch.
Preparation Time:
- Approximately 1 hour (including oven time).
Servings:
- Makes approximately 10 servings.
Additional Suggestions:
- Nuts or Raisins: Try adding walnuts or raisins to the dough for a special touch.
- Side dishes: Serve with a scoop of vanilla ice cream or caramel sauce for extra flavor.
- Variety of Fruits: You can substitute apples for pears or peaches to vary the recipe.
Tips:
- Firm Apples: Use very firm apples so that the pieces remain whole after cooking.
- Alternative Oil: If you prefer, replace the soybean oil with coconut oil for a healthier flavor.
- Fluffy Cake: For an even fluffier cake, add a tablespoon of white vinegar to the batter.
- Mass Distribution: When pouring the batter into the pan, make a small cut in the middle of the batter so that the cake bakes evenly and is not high in the center.
Main Questions about the Recipe:
Can I use another type of apple?
Yes, you can use any type of apple you prefer, as long as they are firm.
What can I use instead of soybean oil?
You can substitute with coconut oil, melted butter or another vegetable oil of your choice.
Do I need to peel apples?
The peel adds a bit of texture to the dough, but if you prefer, you can remove the peel from all of the apples.
Can I make this recipe without a blender?
Yes, you can beat the ingredients by hand or with a mixer, but the blender helps to mix everything faster.
Can the cake be frozen?
Yes, once baked and cooled, you can freeze the cake in slices. Simply defrost at room temperature or in the microwave when you want to eat it.
How do you know if the cake is ready?
Insert a toothpick into the center of the cake. If it comes out clean, the cake is ready. If not, let it bake for a few more minutes.
Did you like this amazing tip? If so, share it with your friends and on your social networks. Leave your comment below and your suggestions. Receive it daily here on our website. Blog of ideas and tips free and follow us on Google News too. Thank you!